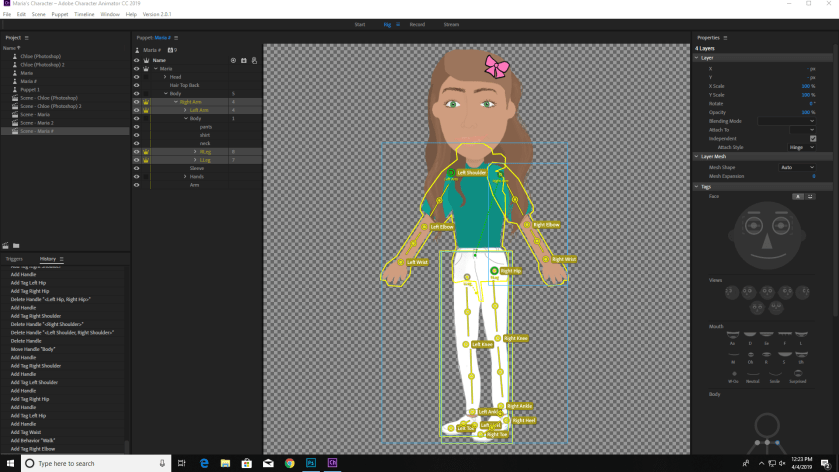
For this last step of animator CC I had to put together a 60 second film scene along with two characters.
To make this scene I went onto Photoshop and drew an ombre night sky with stars, and I also drew the sidewalk. I decided that my scene was missing something so I went to google to and imported a PNG of grass and flowers along the sidewalk.
I synced up the audio with the two different characters there were separate audio files for each character. I downloaded the audio files and added it to a Media Encoder App and then save it that way I could import it to the Character Animator App and I dragged the audio files under the characters names. Then to sync up the audio files with my character I selected the characters ( holding shift) and along with all of the audio files underneath and clicked on scene and then I synced it when it starts to record.
* I did have a lot of trouble with editing and recording this video because my character was meant to began walking up from the far right side of the screen and approach my partners character ( the one on the left). I couldn’t figure out why even though I tried to adjust it with the transform behavior but it would still record that way. Also I believe the most challenging part of this was rushing to match the movements with each character’s audio file. You have to switch between characters and move them accordingly. I would definitely play around with this app and create more characters with more intricate and complex features/behaviors. 2
The most fun experience I had with this project was being able to create my own character. I copied a Chloe onto photoshop and then I erased every single feature that she came with and drew my own. Another thing I was excited about was being able to create the different mouth shapes, and being able to play around with the physics aspect when it came to her earrings. One thing I would change and add if I had more time was to be able to play around with the app I would add in physical objects so that my character could interact with it.
-Maria Nguyen P5A
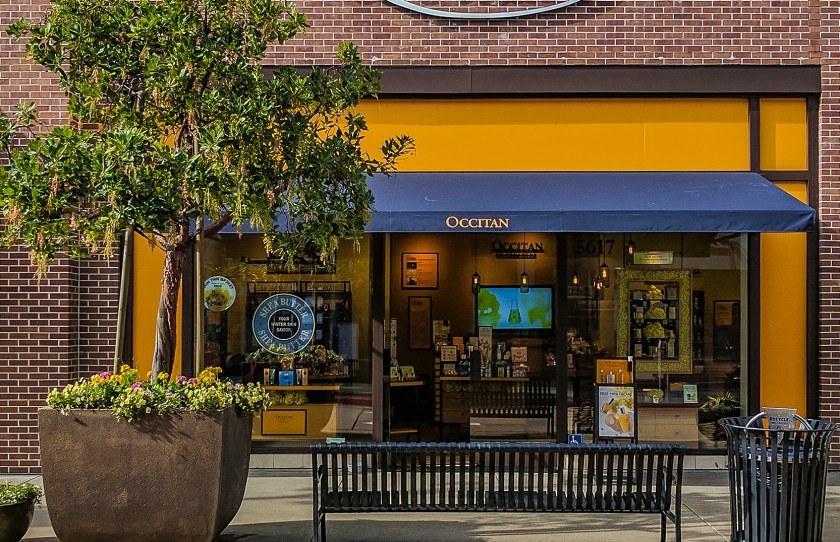
 For this edit, I used the stamp tool mostly and the “removing blemishes” tool. I removed the dust from the awning and made it look brand new. To do this I clicked on the circle tool with the band aid over it. I zoomed in closer to where I could really pay attention to detail, and I clicked “alt” while I clicked on the “dirt” to make my awning look more new.
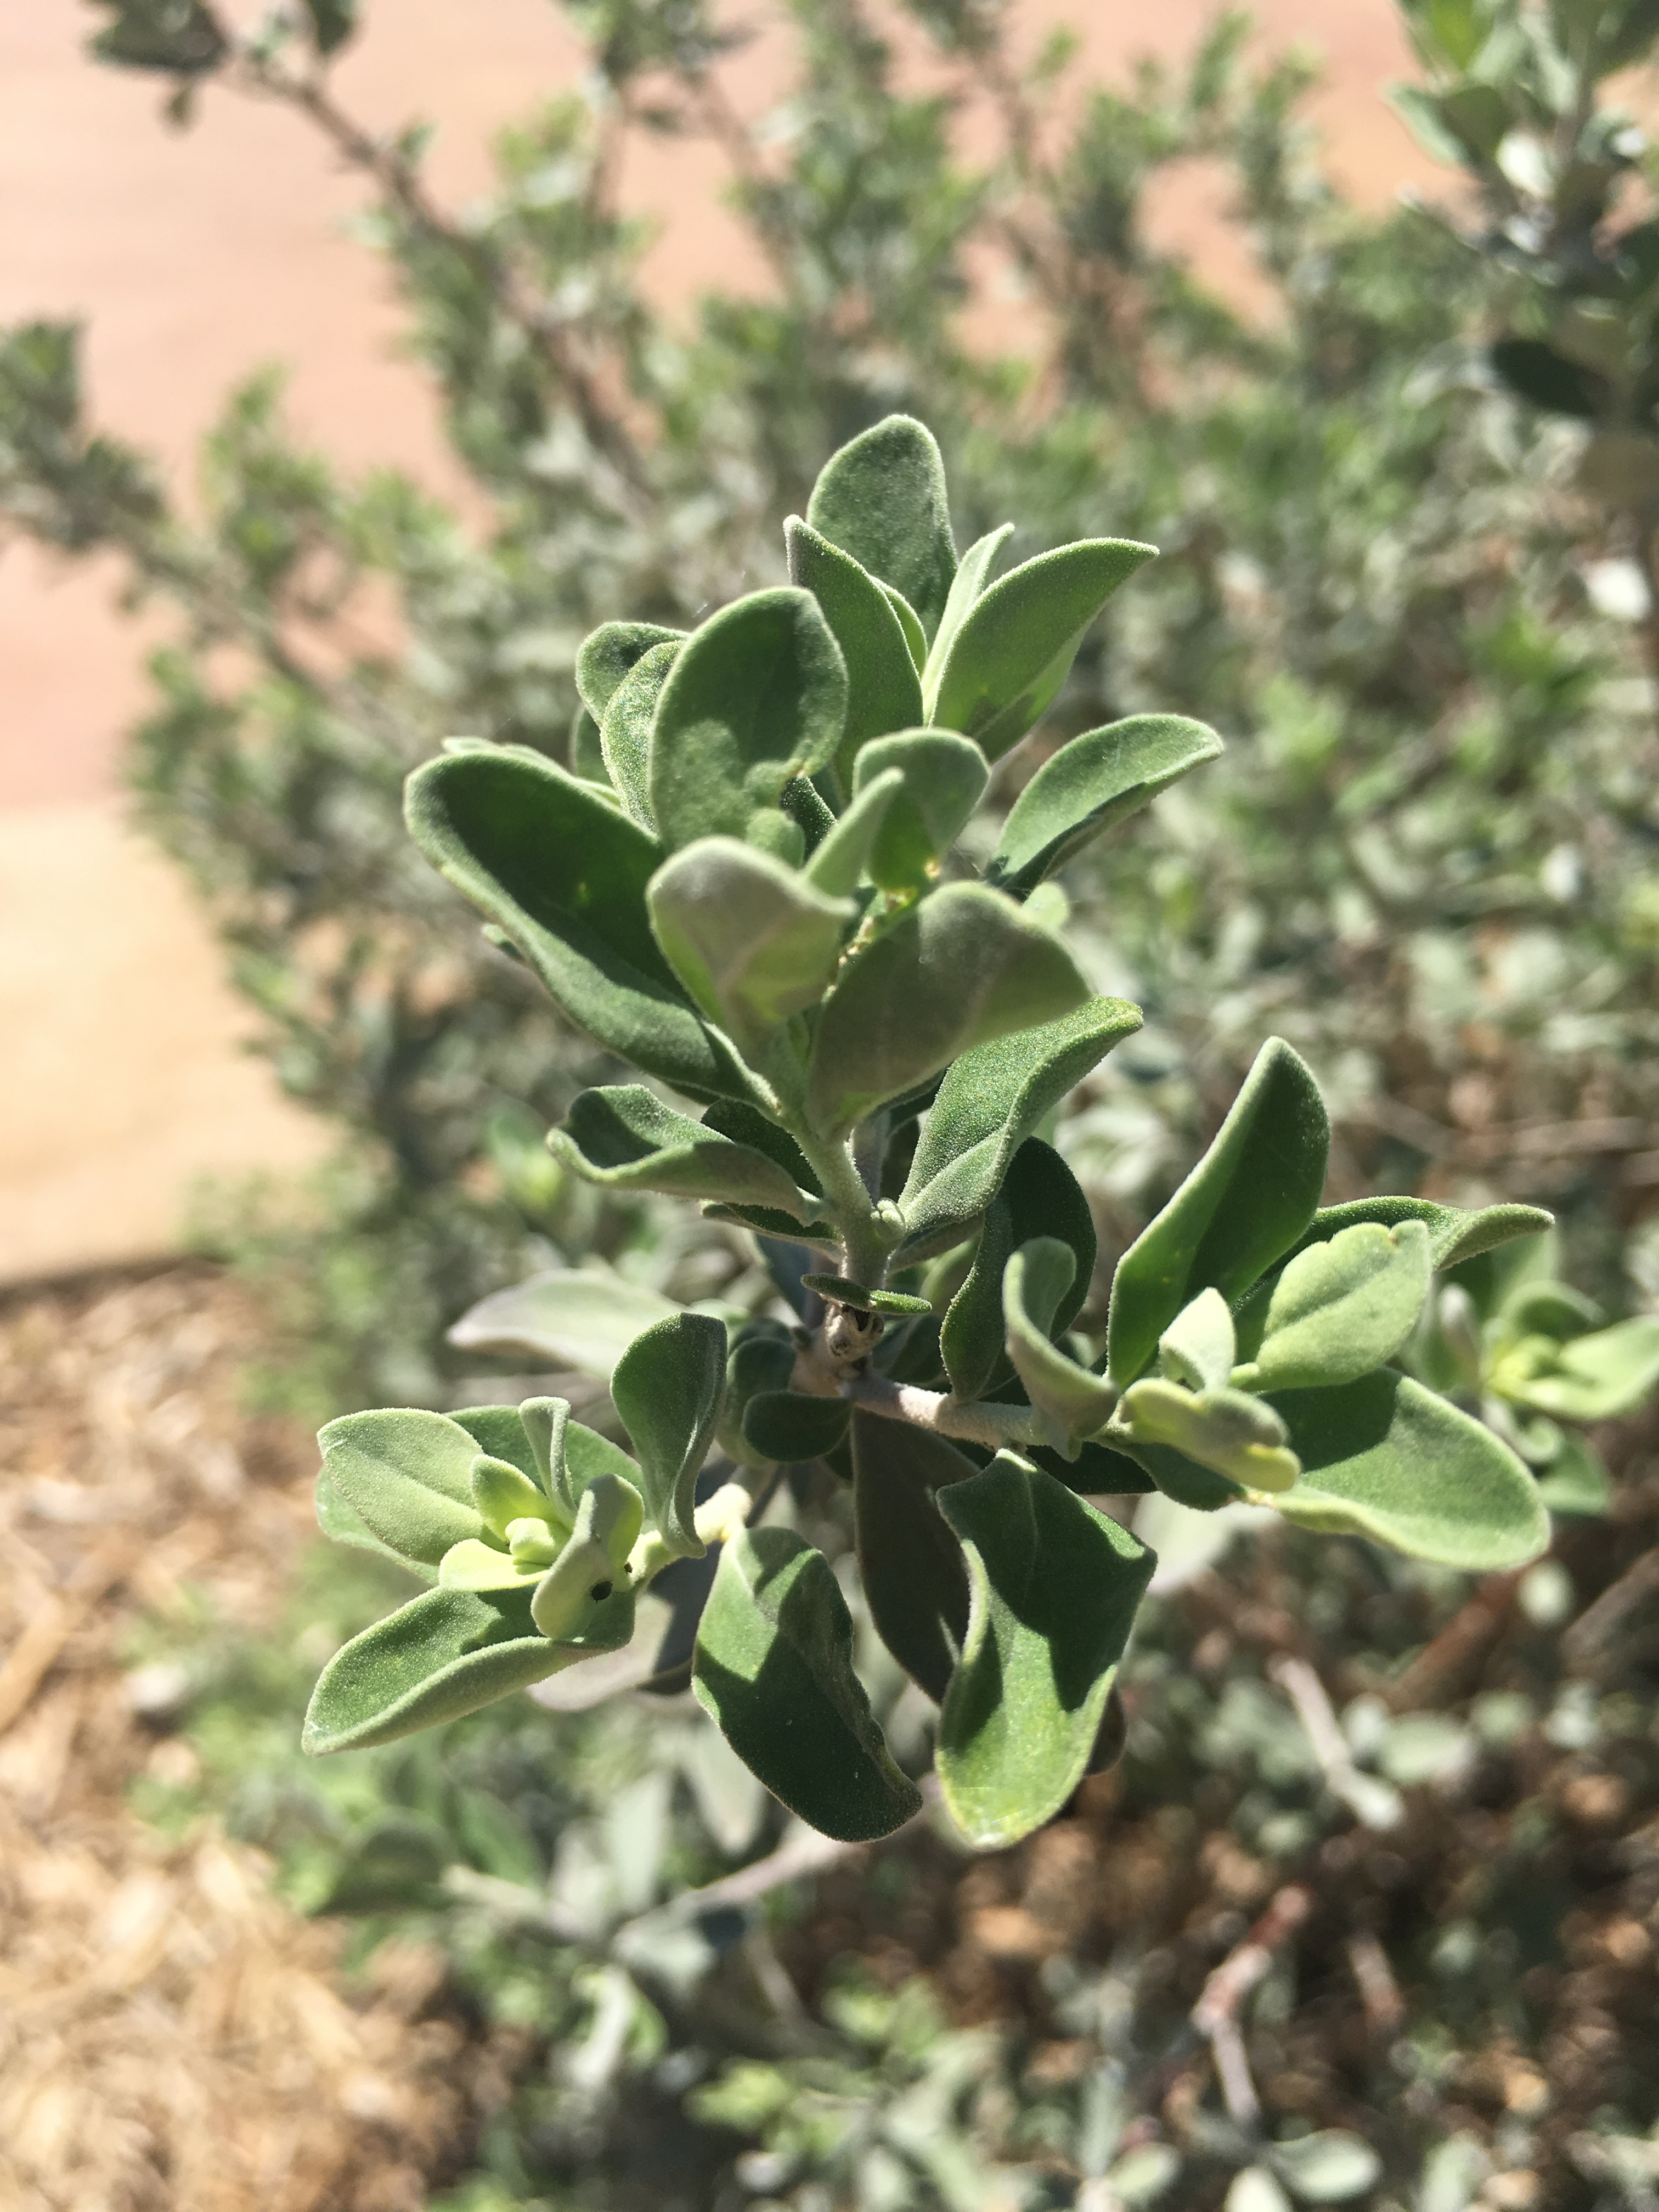


 Extreme Long shot: (Subject: Electrical Wires + Trees)
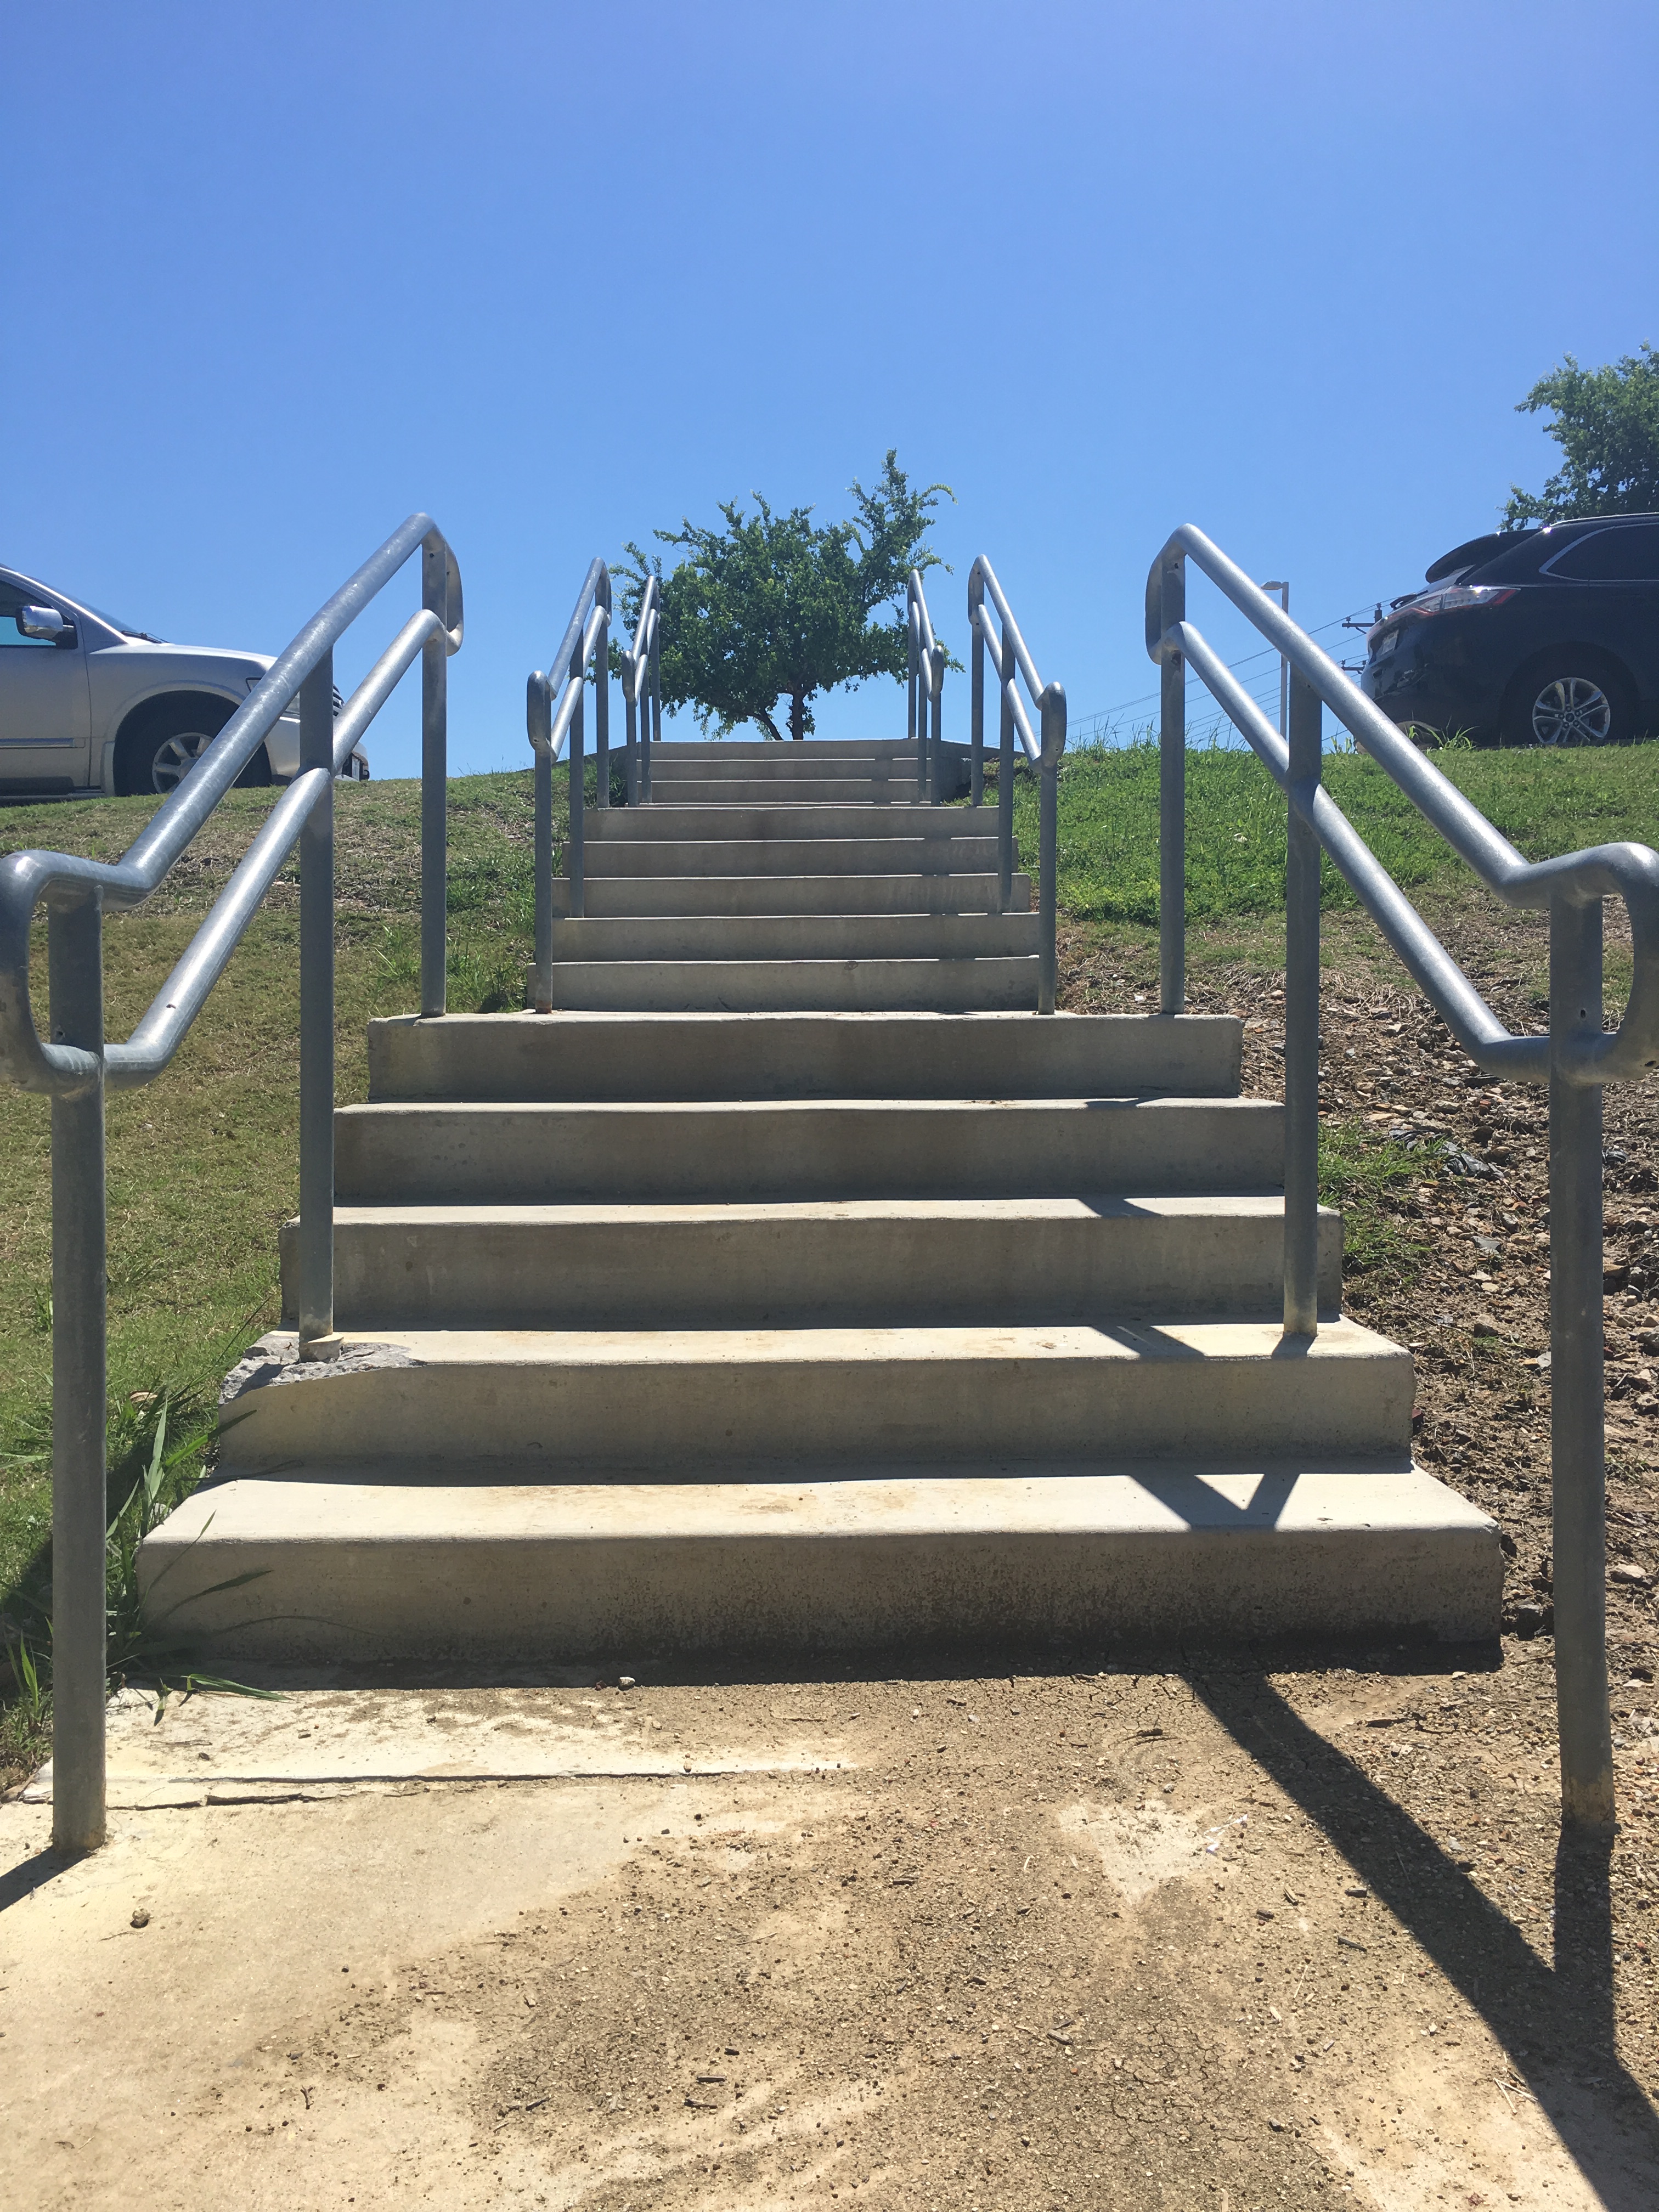
 Medium Shot:
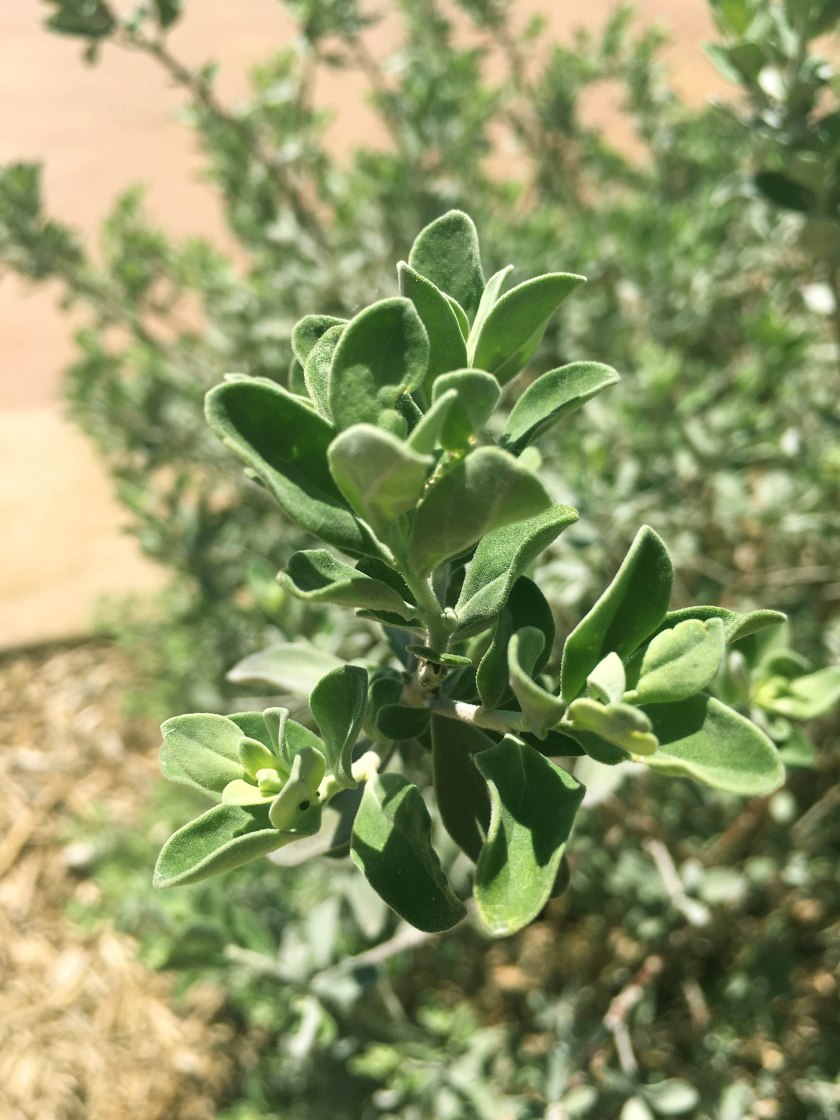
 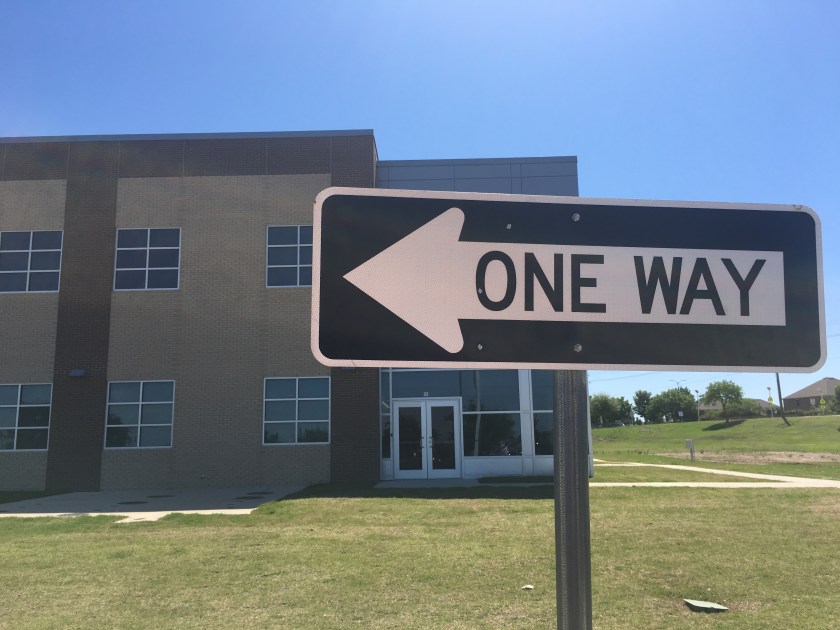 Extreme Close up Shot:
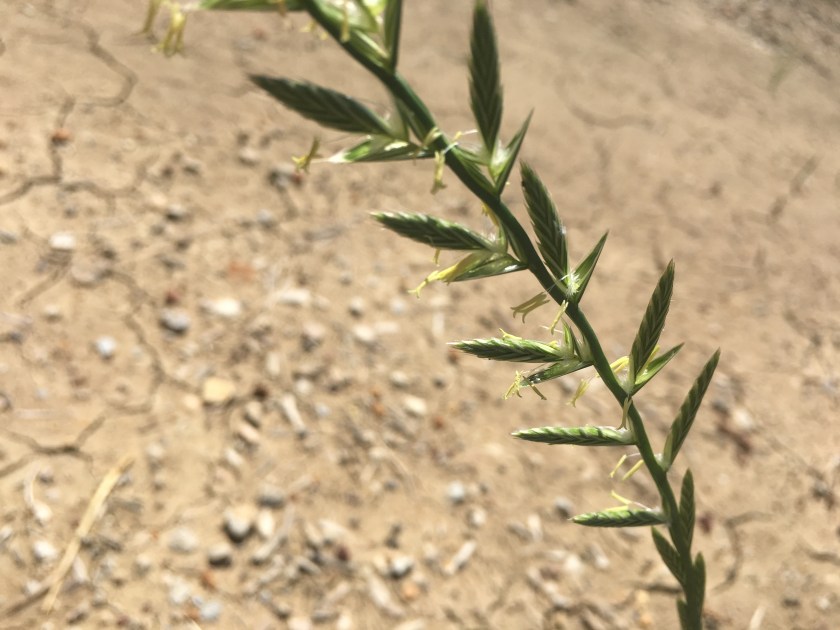
 Close Up Shot: