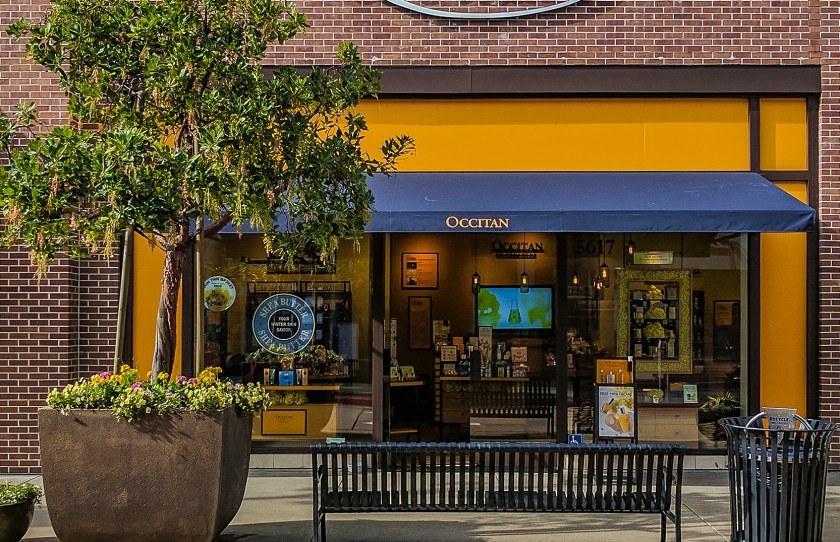
 For this edit, I used the stamp tool mostly and the “removing blemishes” tool. I removed the dust from the awning and made it look brand new. To do this I clicked on the circle tool with the band aid over it. I zoomed in closer to where I could really pay attention to detail, and I clicked “alt” while I clicked on the “dirt” to make my awning look more new.
It’s better to click instead of drag. It appears more natural when you click to remove the blemishes. If you drag then it’ll bring along other colors that you wouldn’t want in your edit.
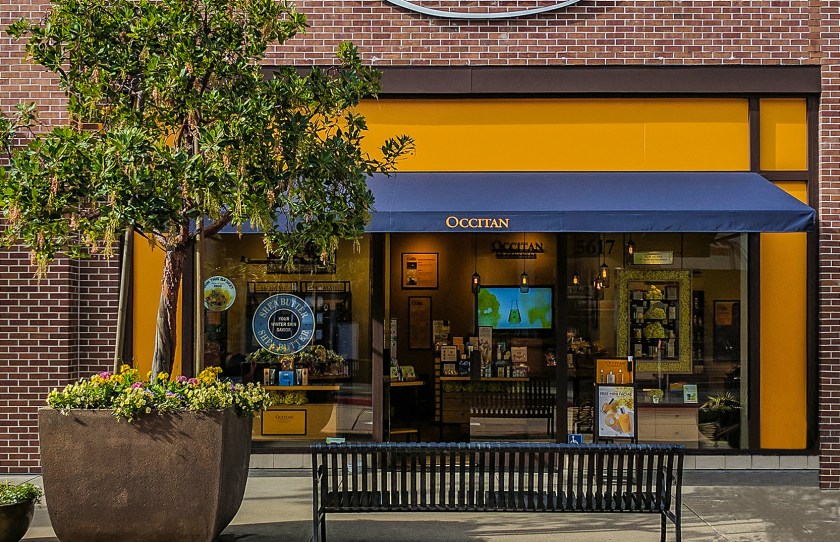
The next thing I did was remove the trashcan. I removed the trashcan by clicking on the Stamp clone tool. To use this tool it’s better to use a rectangular or square brush shape when working with edges. Although in my case I used photoshop on one of the newer computers so I didn’t have that option. I used the circle tool instead, and zoomed in more into detail to make the edges appear more sharper.
The last thing I did was make the sidewalk look realistic and natural with a shadow from the tree. This was by far the most challenging thing to make look “natural”. I had to clone parts of the branches and make it look natural. No part of a tree is perfect or looks the same as another part.
